Mobile apps are no longer just tools — they are becoming intelligent digital companions. In 2026 and beyond, businesses are shifting from feature-based applications to AI agent-powered mobile ecosystems that think, decide, and act autonomously.
AI agents are transforming how mobile apps interact with users, automate workflows, and generate revenue. Instead of waiting for user input, AI agents anticipate needs, execute tasks, and continuously improve through learning.
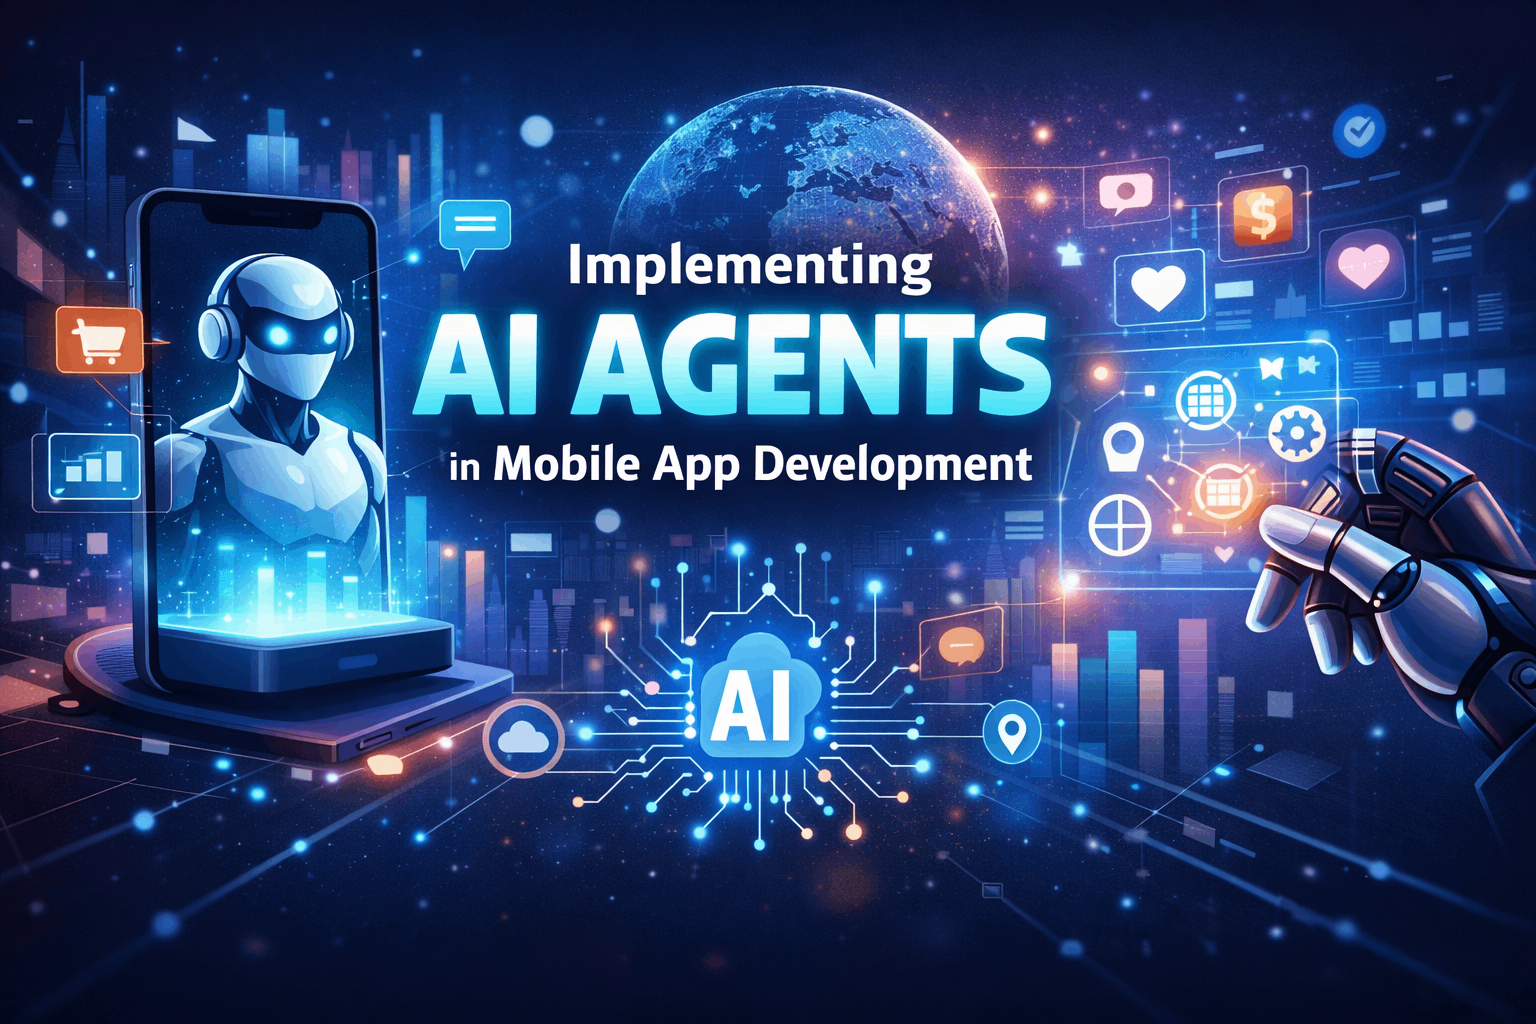
Let’s explore how AI agents are reshaping mobile app development — and how your business can implement them effectively.
What Are AI Agents in Mobile Apps?
AI agents are autonomous software entities powered by:
- Large Language Models (LLMs)
- Machine Learning algorithms
- Context awareness systems
- Real-time data processing
- API & system integrations
Unlike traditional AI features (like simple chatbots), AI agents can:
✔ Understand intent
✔ Make decisions
✔ Perform actions
✔ Learn from behavior
✔ Execute multi-step tasks
They don’t just respond — they act intelligently inside your mobile application.
Why AI Agents Are the Future of Mobile Apps
Traditional apps require constant user input. AI agents reduce friction by:
- Personalizing user journeys automatically
- Handling background tasks
- Automating decision-making
- Providing proactive recommendations
- Managing workflows without human intervention
Business Impact
- 📈 Higher app retention
- 💰 Increased monetization
- ⚡ Faster task completion
- 🤝 Improved customer satisfaction
- 🧠 Smarter automation
Real-World Use Cases of AI Agents in Mobile Apps
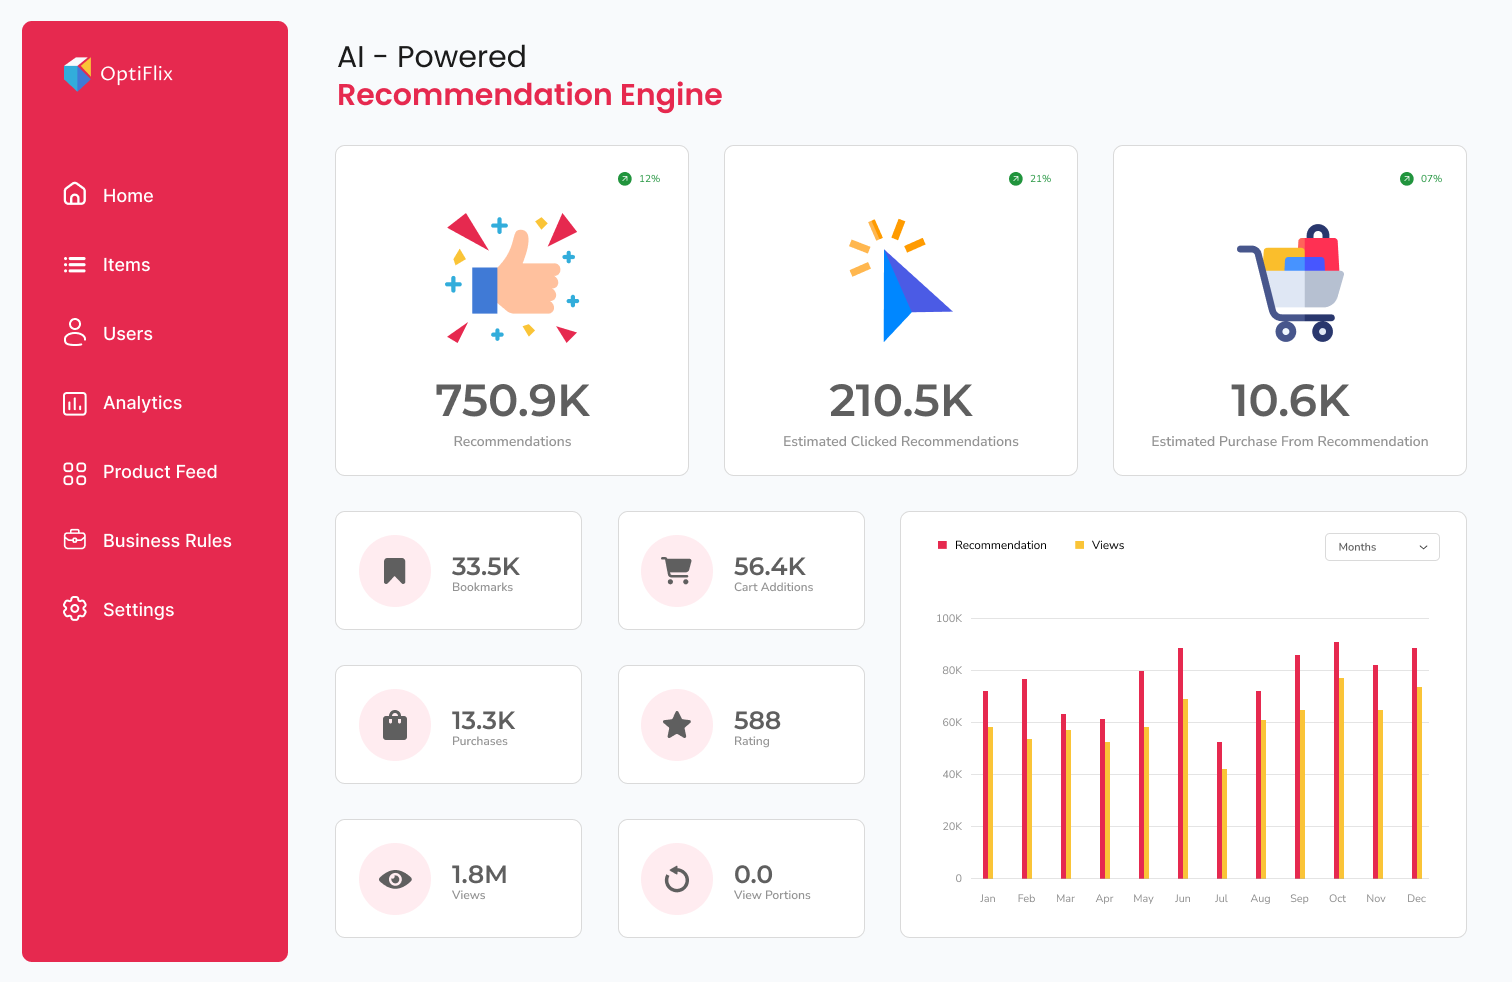
1. E-Commerce AI Shopping Assistant
An AI agent can:
- Recommend products based on real-time behavior
- Compare pricing
- Apply coupons automatically
- Complete checkout via voice or chat
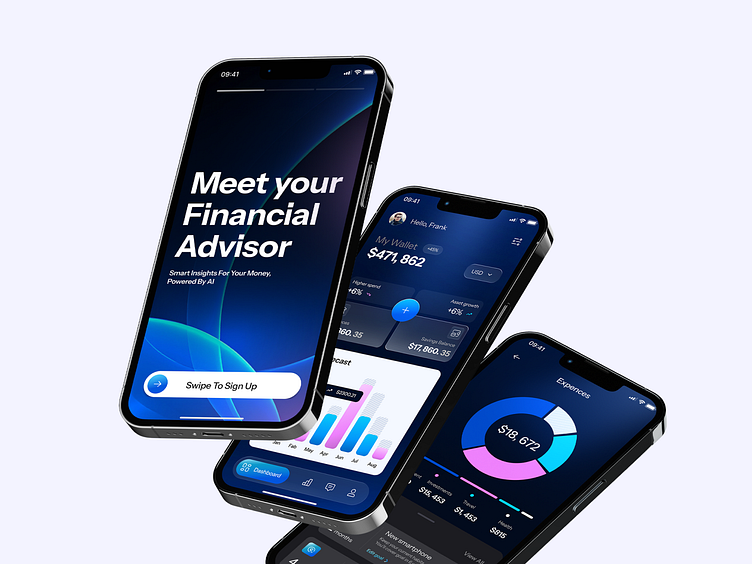
2. Fintech Personal Finance Agent
- Tracks spending habits
- Suggests savings plans
- Auto-invests based on risk profile
- Alerts users about unusual transactions
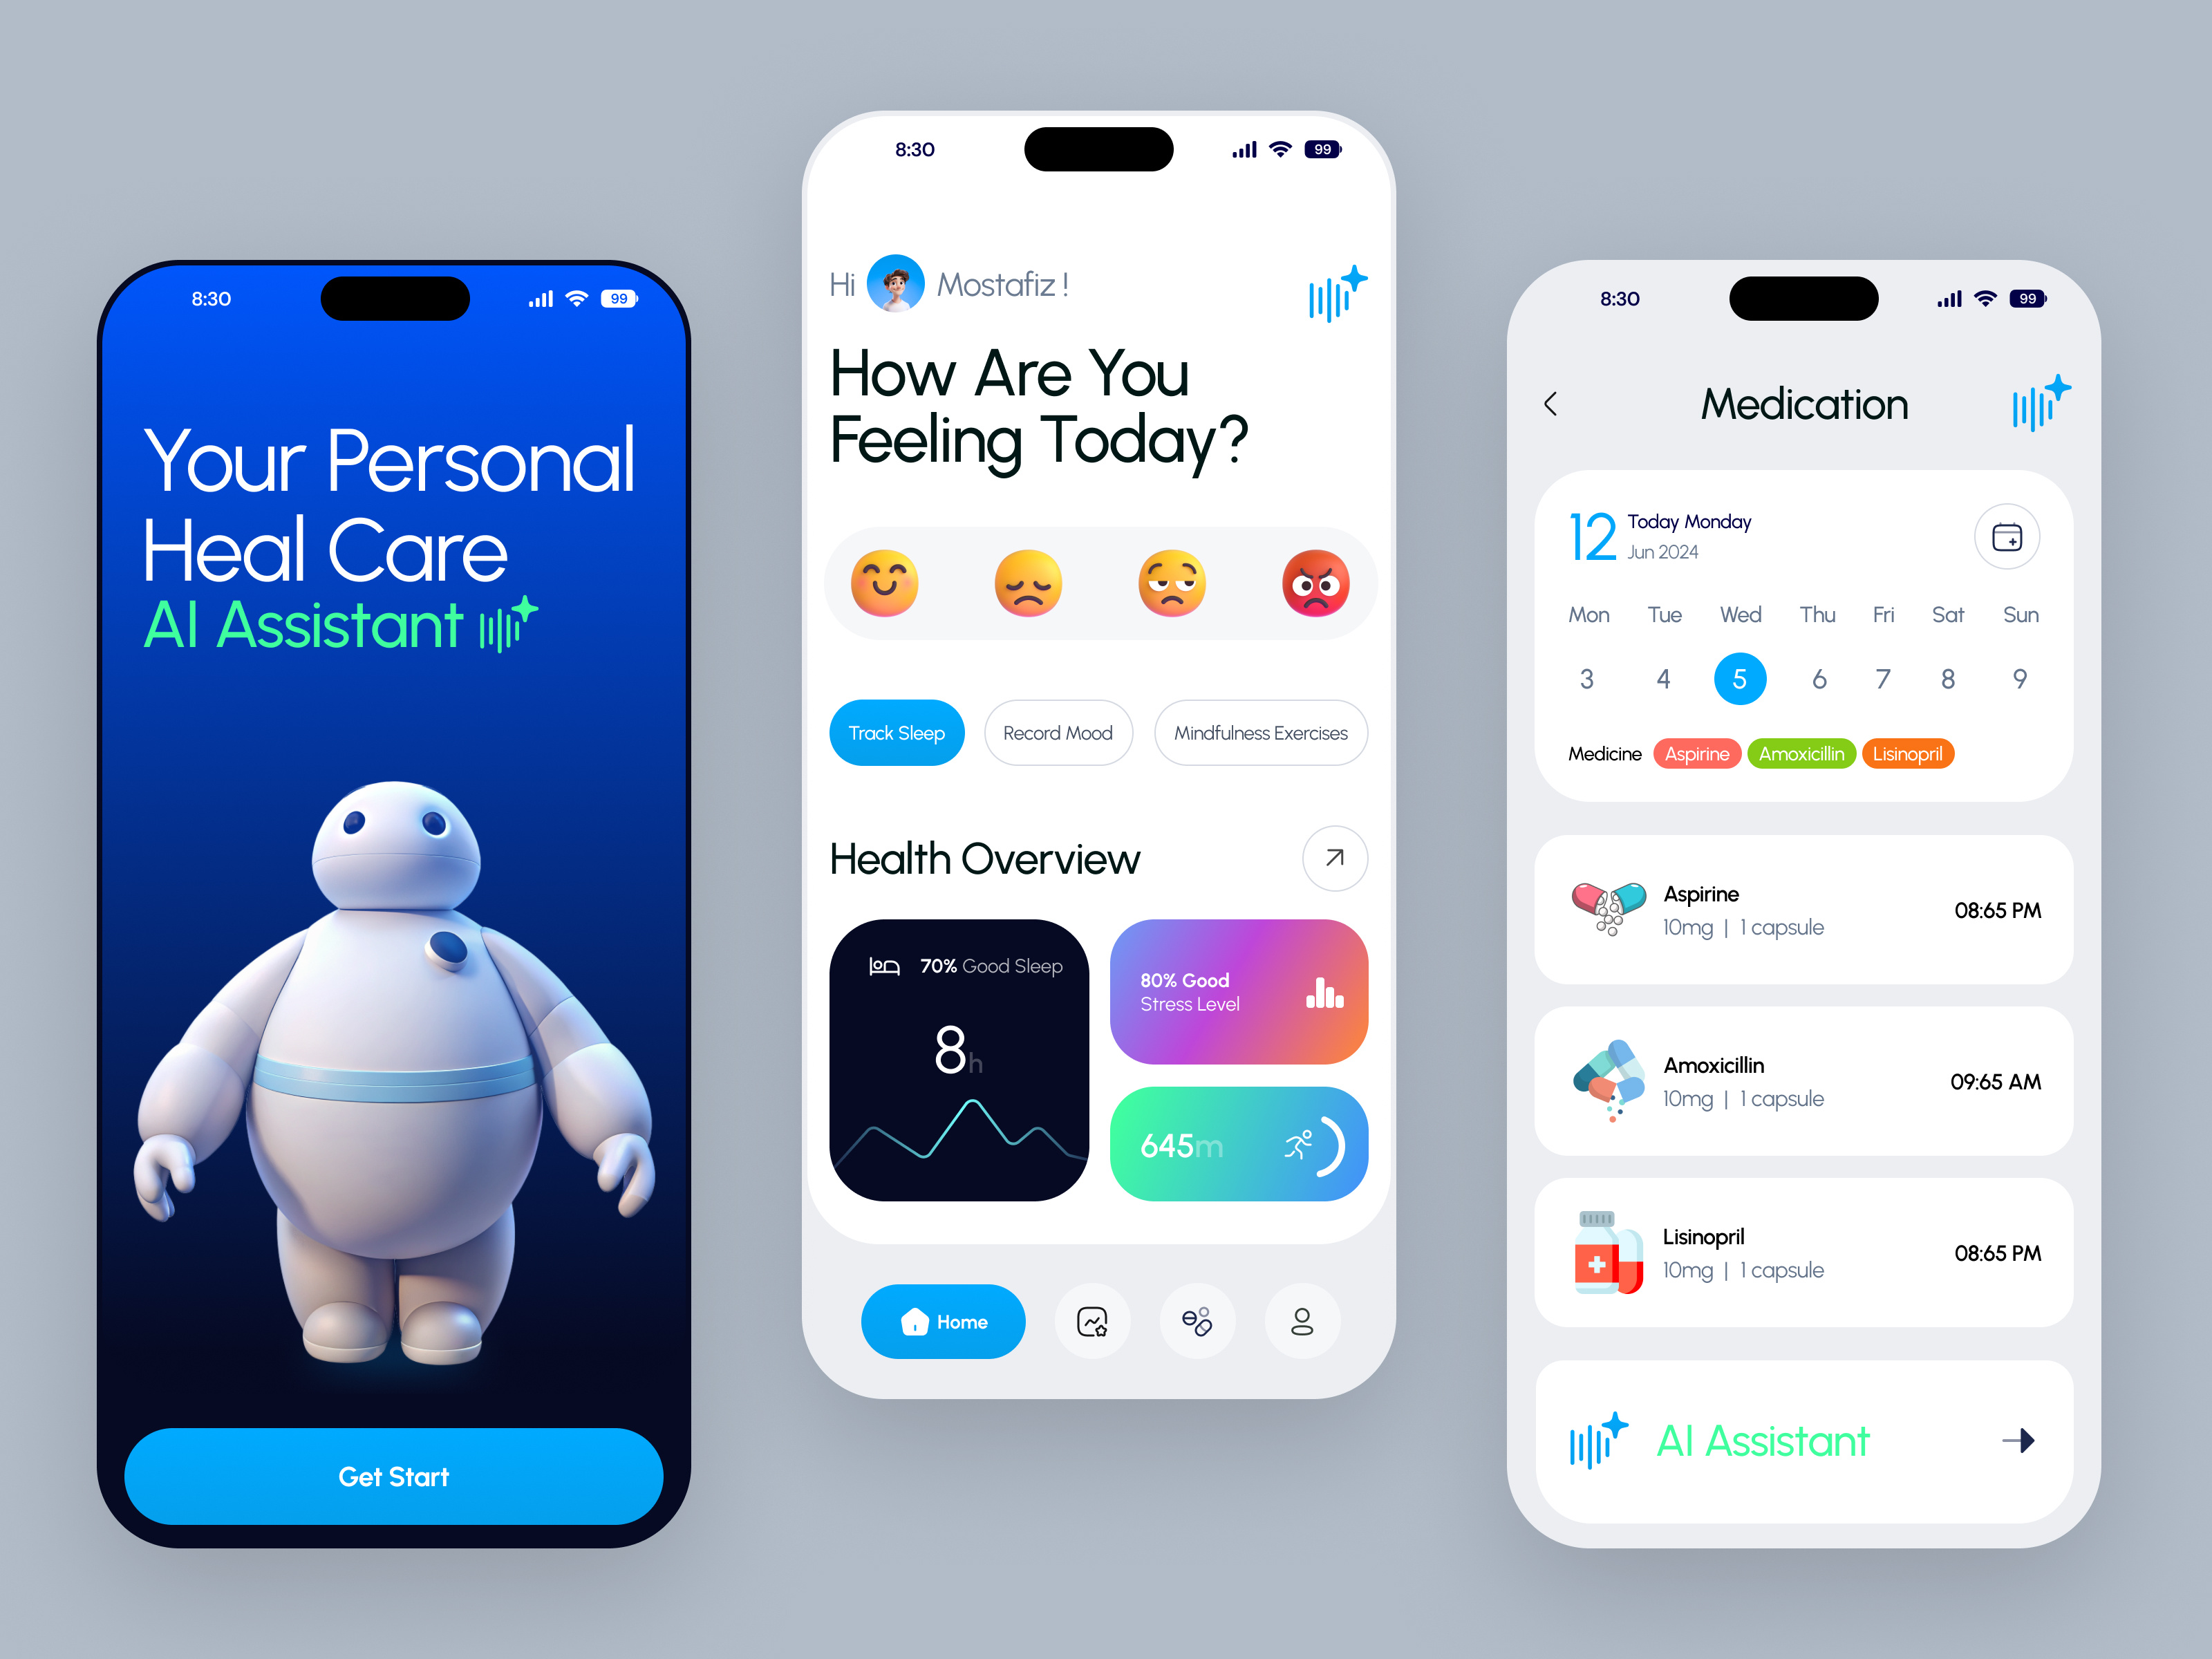
3. Healthcare Monitoring Agent
- Tracks health vitals
- Schedules appointments
- Sends medication reminders
- Notifies doctors when risk patterns appear
4. Real Estate Lead Qualification Agent
- Answers property queries
- Books site visits
- Qualifies buyers
- Sends payment reminders
Architecture: How to Implement AI Agents in Mobile Apps
Implementing AI agents requires a layered architecture:
1. Frontend (Mobile App Layer)
- Built using Flutter / React Native / Swift / Kotlin
- Provides conversational interface
- Collects contextual signals
2. AI Agent Layer
- Powered by LLMs (OpenAI, Claude, Gemini, Llama)
- RAG (Retrieval Augmented Generation) architecture
- Agent orchestration framework (LangChain, CrewAI, etc.)
3. Memory & Context Layer
- Vector databases (Pinecone, Weaviate)
- User history storage
- Session memory
4. Action Layer
- API integrations
- Payment gateways
- CRM systems
- IoT systems
5. Monitoring & Learning Layer
- Feedback loop
- Performance metrics
- Reinforcement learning
Step-by-Step Implementation Strategy
Step 1: Define the Agent’s Role
Is it:
- Sales assistant?
- Customer support agent?
- Personal productivity agent?
- Transaction automation agent?
Clarity defines architecture.
Step 2: Choose the Right AI Model
Factors to consider:
- Latency requirements
- Cost per token
- Fine-tuning needs
- On-device vs cloud AI
Step 3: Design Memory System
AI agents need:
- Short-term memory (session-based)
- Long-term memory (behavior-based)
- Knowledge retrieval (RAG system)
Step 4: Integrate Action APIs
Agents must execute tasks:
- Booking appointments
- Placing orders
- Sending notifications
- Processing payments
Without action capability, it’s just a chatbot.
Step 5: Implement Guardrails & Security
Critical for production:
- Data encryption
- Prompt injection protection
- Role-based access control
- Compliance (GDPR, CPRA)
Challenges in Implementing AI Agents
- High computation cost
- Latency management
- Model hallucinations
- Data privacy risks
- Continuous retraining needs
A well-designed system architecture reduces these risks significantly.
On-Device vs Cloud AI Agents
| Feature | On-Device AI | Cloud AI |
|---|---|---|
| Speed | Very fast | Moderate |
| Cost | One-time | Ongoing |
| Privacy | High | Depends |
| Scalability | Limited | High |
| Model Power | Moderate | Very High |
Hybrid architecture is often the best approach.
Future of AI Agents in Mobile Apps (2026–2030)
- Agent-to-agent communication
- Multi-modal AI (voice + vision + text)
- Emotion-aware AI agents
- Autonomous revenue agents
- Fully self-optimizing apps
Apps will no longer be static platforms — they will become AI-driven ecosystems.
Why Businesses Should Start Now
Companies that integrate AI agents early will:
- Capture market leadership
- Reduce operational costs
- Increase customer lifetime value
- Build defensible AI-based IP
AI agents are not a trend. They are the foundation of next-generation mobile apps.
Suggested Blog Topics (SEO-Focused)
Here are powerful blog topics you can publish along with this article:
AI Agent Focused Topics
- How AI Agents Are Replacing Traditional Chatbots in Mobile Apps
- AI Agent Architecture for Enterprise Mobile Applications
- RAG vs Fine-Tuning: What’s Better for AI Agents in Apps?
- How to Build an Autonomous AI Sales Agent in a Mobile App
- AI Agents vs AI Assistants: What’s the Difference?
Industry-Specific AI Agent Topics
- AI Agents in Fintech Mobile Apps: Use Cases & Implementation
- AI Agents for E-commerce Apps: Increasing Conversion by 40%
- Healthcare Mobile Apps Powered by AI Monitoring Agents
- Real Estate Apps with AI Property Matching Agents
- AI Agents in EdTech Mobile Applications
Technical & Development Topics
- How to Reduce Latency in AI-Powered Mobile Apps
- On-Device LLMs for Mobile Apps: Is It Practical in 2026?
- Integrating OpenAI APIs in Flutter Mobile Apps
- Vector Databases for Mobile AI Applications
- Securing AI Agents in Production Mobile Apps
Business & Strategy Topics
- ROI of AI Agents in Mobile App Development
- Cost of Building an AI Agent-Powered Mobile App
- AI Monetization Models for Smart Apps
- AI-First vs Feature-First App Strategy
- How Startups Can Use AI Agents to Compete with Enterprises
Final Thoughts
AI agents represent the shift from interactive apps to intelligent autonomous systems. Businesses that adopt this model early will dominate user engagement and revenue generation.
If you’re planning your next mobile app upgrade, don’t just add AI features.
Build AI agents.